
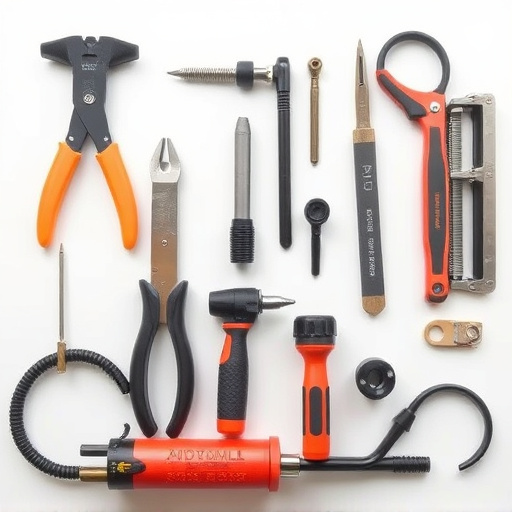
Door seal replacement is crucial for protecting vehicles from water, dirt, and rust. Regularly inspect seals for wear; replace as needed to prevent leaks and damage. Proper maintenance enhances vehicle security, insulation, and body work longevity, especially in fleet repair. Tools required include new door seal, putty knife, cleaning solution, and adhesive. Clean door frames, insert seal, apply adhesive, test for secure fit.
“Preventing rust and corrosion is essential for maintaining your vehicle’s longevity, especially regarding door seals. This guide delves into the critical role of door seals in keeping out moisture and debris, thus safeguarding against rust. We’ll help you identify signs that your door seal needs replacing, offering a step-by-step process for an effective upgrade. By understanding these components, you can ensure optimal vehicle health and performance through simple yet significant door seal replacement techniques.”
- Understanding Door Seals and Their Function
- Signs Your Door Seal Needs Replacement
- Step-by-Step Guide to Replacing Door Seals
Understanding Door Seals and Their Function
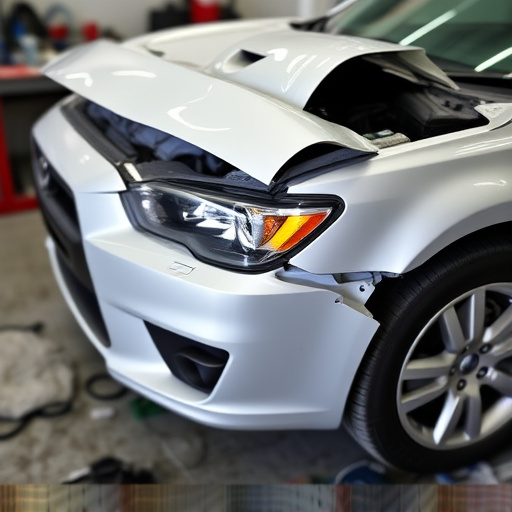
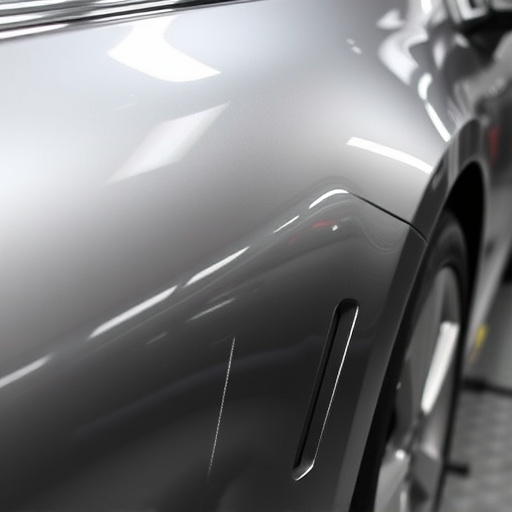
Door seals are crucial components that play a vital role in maintaining the integrity and security of your vehicle. These seals, often made from durable materials like rubber or vinyl, form a barrier between the door and its frame, preventing water, dirt, and other elements from penetrating into the vehicle’s interior. In the world of auto repair, understanding these seemingly simple parts is essential for anyone looking to avoid costly repairs down the line, particularly when it comes to rust and corrosion.
When it comes to door seal replacement, the process involves more than just swapping out a worn-out seal. It’s a step towards enhancing vehicle longevity and ensuring optimal performance. A damaged or deteriorated seal can lead to several issues, including water intrusion, which not only compromises the interior but also sets the stage for rust and corrosion on the car body, especially in harsh weather conditions. Regular inspection of door seals is recommended as part of routine vehicle maintenance, and if any signs of wear or damage are noticed, it’s best to consult with a reliable auto repair shop for expert advice and quality replacement parts, ensuring your vehicle receives the best in autobody repairs.
Signs Your Door Seal Needs Replacement
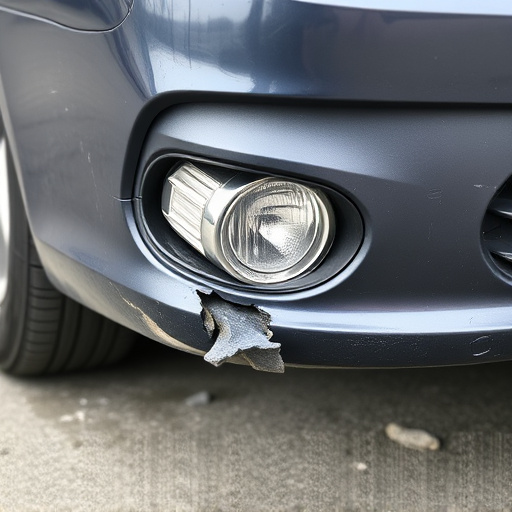
If your door seals are showing signs of wear and tear, it’s time to consider a door seal replacement. One of the most noticeable indicators is visible rust or corrosion on the seal or the door frame. Over time, the rubber or plastic components of the seal can deteriorate, becoming brittle or cracked, leading to leaks that allow water and air to enter your vehicle’s cabin or cargo space. This not only compromises the comfort of passengers but also facilitates the entry of moisture, which can cause rust and further damage to other parts of your vehicle.
Additionally, if you notice a decrease in door sealing effectiveness, such as difficulty opening or closing the door, or an unusual amount of noise when doing so, these could be red flags. A worn-out seal may not provide adequate insulation or security either, making it imperative to promptly address these issues. For fleet repair services or regular auto body shop maintenance, ensuring that door seals are in good condition is crucial, as it contributes significantly to preserving the overall quality and longevity of automotive body work.
Step-by-Step Guide to Replacing Door Seals
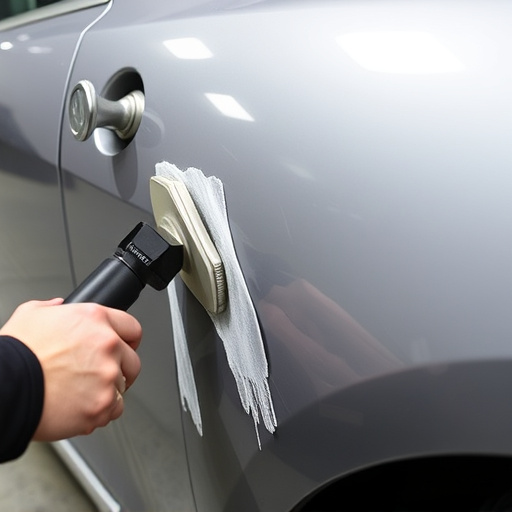
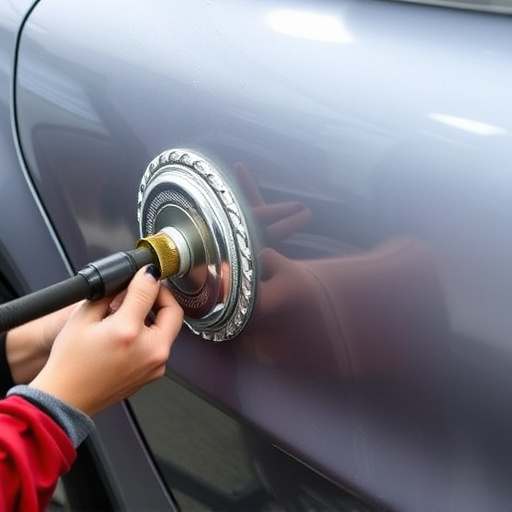
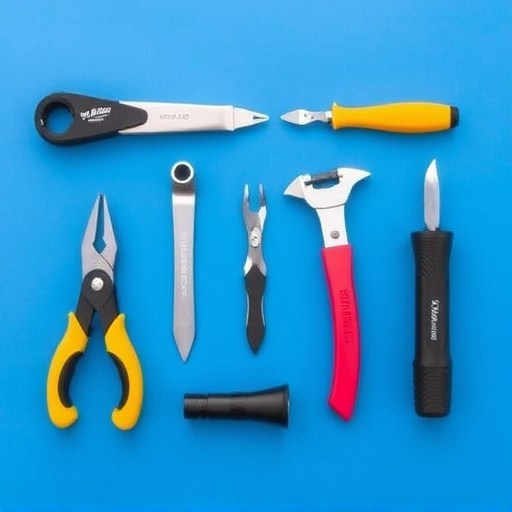
Replacing door seals is a straightforward process that can significantly enhance your vehicle’s protection against rust and corrosion. Here’s a step-by-step guide to help you through the process, ensuring it’s done correctly from the start. Begin by gathering the necessary tools, including a new door seal, a putty knife, and a cleaning solution suitable for automotive use. Next, remove any debris or old sealant from the door frame and fender using the cleaning solution. This step is crucial to ensure the new seal adheres properly.
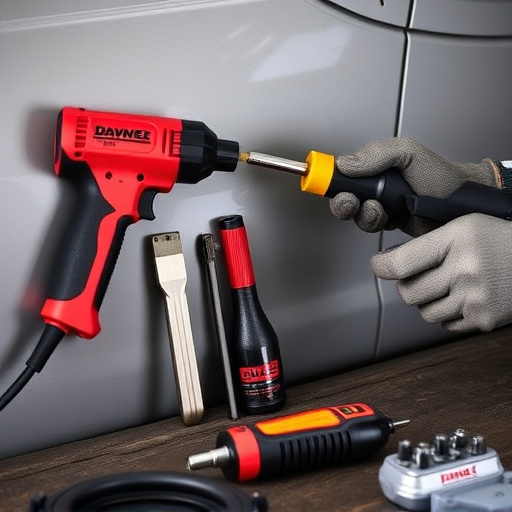
With the surface clean, insert the new door seal into place, starting from one side and working your way around. Use a putty knife to apply a thin layer of adhesive along the edge of the seal, pressing it firmly against the frame. Ensure there are no air pockets trapped between the seal and the metal to prevent gaps that could lead to water ingress and corrosion, especially after a fender bender or other auto body shop repairs. Once in place, allow the adhesive to set according to the manufacturer’s instructions before testing the door’s operation for a secure fit.
Door seal replacement is a straightforward process that can significantly extend the life of your doors, preventing rust and corrosion. By regularly checking for signs of wear and damage, you can ensure optimal performance and maintain the integrity of your door seals. Following the step-by-step guide provided in this article will empower you to tackle this task efficiently, ensuring your doors remain sturdy, weatherproof, and free from unwanted moisture intrusion.