


Understanding diverse door seal types and their functions is vital for effective replacement during collision repair or auto maintenance. Prepare with right tools, materials, and vehicle-specific seals. Gather essential tools like utility knife, putty knife, clean rags. Remove old seal, clean frame, apply adhesive, position new seal, smooth gaps, let adhesive set for a secure fit. Follow expert tips for seamless finish.
Tired of drafty doors or unwanted noise? Learn how to replace your door seal for a tight, secure fit with our comprehensive guide. From understanding different door seal types to gathering the right tools and materials, we’ve got you covered. Follow our step-by-step instructions for a precise installation that will enhance energy efficiency and silence those pesky drafts. Say goodbye to cold spots and hello to a cozier home!
- Understanding Your Door Seal Types and Needs
- Gathering Necessary Tools and Materials
- Step-by-Step Guide for a Precise Installation
Understanding Your Door Seal Types and Needs

When it comes to door seal replacement, understanding your specific door seal types and needs is paramount. Different doors in your vehicle—from side mirrors to trunk lids—have distinct seals designed for various functions. For instance, weatherstrips are crucial for preventing water and air intrusion, while door gaskets ensure a secure fit when closing the door. Knowing these variations allows you to select the right replacement parts tailored to each door, guaranteeing a perfect seal every time.
This process involves considering factors beyond visual inspection. Age and environmental exposure can degrade seals, leading to cracks or brittleness. If your vehicle has undergone collision repair or extensive auto maintenance, pay extra attention to door seals. Similarly, during vehicle paint repair, ensure that new seals complement the freshly painted surface for a seamless finish.
Gathering Necessary Tools and Materials
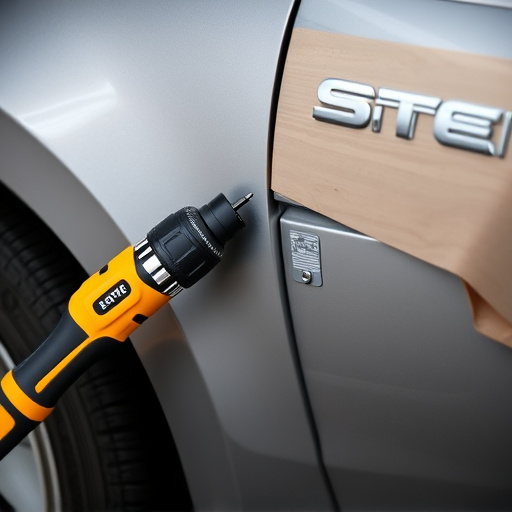
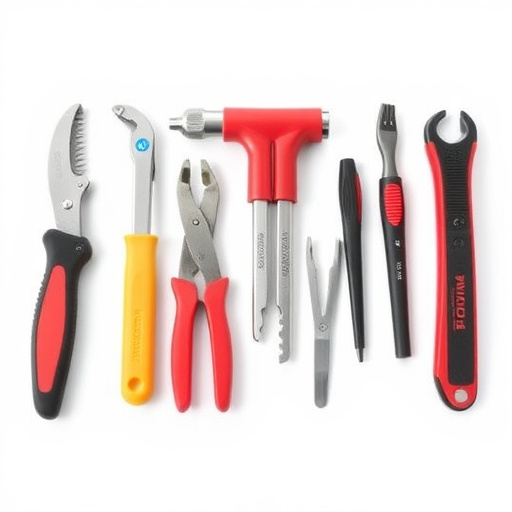
Before tackling a door seal replacement, gather your tools and materials to ensure a smooth and successful process. This includes obtaining the correct size and type of door seal for your vehicle model – misjudging this could lead to an imperfect fit or even incompatible parts. Additionally, you’ll need basic hand tools like a screwdriver, pliers, and possibly a utility knife. For a secure installation, consider having weatherstrip adhesive and a putty knife on hand. If replacing seals due to damage from a vehicle collision repair or tire services, it’s crucial to assess the overall condition of the door and surrounding panel, as other repairs might be necessary for a seamless finish.
Step-by-Step Guide for a Precise Installation

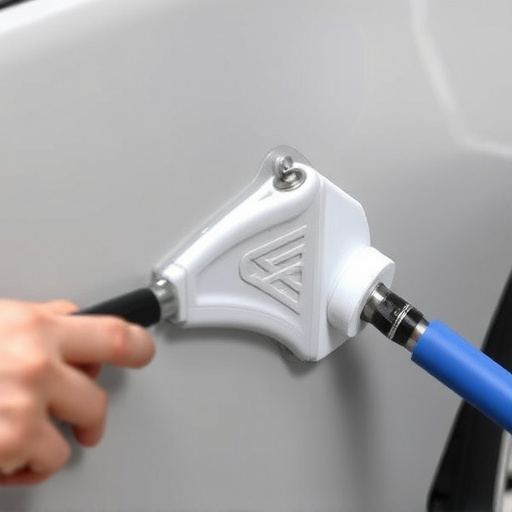
Replace your door seal with these expert tips for a precise installation every time. Start by gathering all necessary tools and materials, including the new door seal, a utility knife, a putty knife, and clean rags. Next, carefully remove the old door seal by cutting it away from the door frame using the utility knife. Take your time to ensure you don’t damage the surrounding areas. Once the old seal is removed, thoroughly clean the door frame to eliminate any debris or dust.
Apply a thin layer of high-quality adhesive along the door frame where the new seal will be installed. Carefully position the new door seal in place, ensuring it fits snugly against the frame. Use the putty knife to smooth out any gaps and make adjustments as needed. Allow the adhesive to set according to the manufacturer’s instructions before applying pressure to ensure a secure fit. With these simple steps, you’ll be well on your way to replacing your door seal for a seamless finish in your collision repair or automotive restoration project.
Door seal replacement is a straightforward yet impactful task that can significantly improve your home’s energy efficiency. By understanding your door seal types, gathering the right tools and materials, and following a precise installation guide, you can ensure a perfect fit every time. These tips empower you to tackle this project with confidence, creating a tighter, more comfortable living space.