

Door seal replacement is crucial for effective vehicle noise reduction, blocking external sounds like traffic and wind. Regular replacement, especially after accidents or wear, enhances comfort and drives smoothness through collision auto body repairs. This guide provides step-by-step instructions to reduce noise and improve car performance.
Door seal replacement is a simple yet effective way to significantly enhance vehicle noise reduction. In today’s world, minimizing interior noise is crucial for passenger comfort and safety. This article delves into understanding vehicle noise sources, highlighting the critical role of door seals in sound insulation. We provide a step-by-step guide to ensure effective seal replacement, empowering car owners to create a quieter, more enjoyable driving experience.
- Understanding Vehicle Noise and Its Sources
- The Role of Door Seals in Sound Insulation
- Step-by-Step Guide to Effective Seal Replacement
Understanding Vehicle Noise and Its Sources

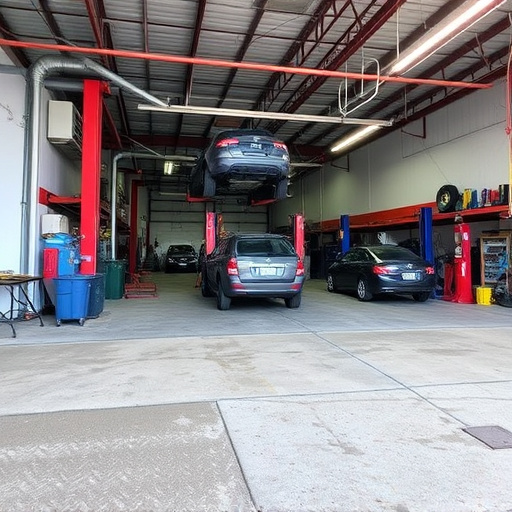
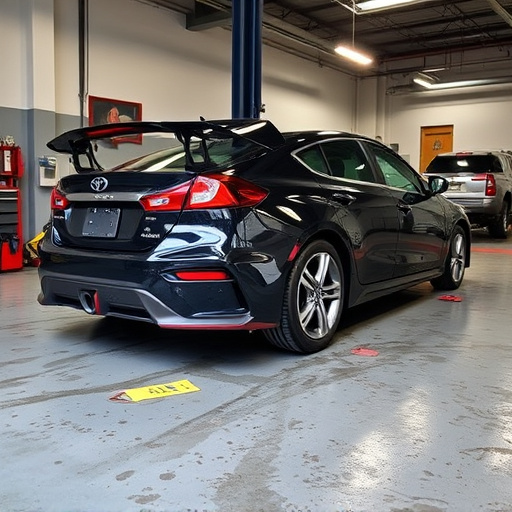
Vehicle noise, often an overlooked aspect of automotive ownership, can stem from various sources within a car’s structure. From wind and rain to engine and road noises, these elements can create an unpleasant driving experience for folks. Door seals play a significant role in mitigating these sounds, acting as a barrier between the interior and exterior environments. Over time, however, these seals can wear down, allowing noise to infiltrate the vehicle cabin. A door seal replacement is thus not just about aesthetics, but also enhancing the overall comfort and peace of mind for drivers. When you bring your vehicle in for auto body repairs at a collision repair shop, ensuring that door seals are in optimal condition is part of the process of achieving maximum noise reduction during your commute.
The Role of Door Seals in Sound Insulation

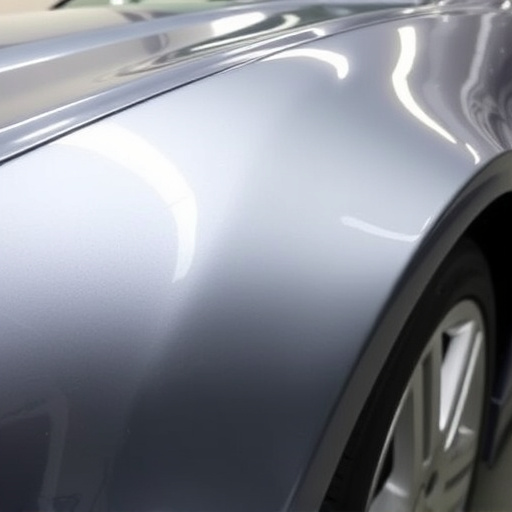
Door seals play a pivotal role in sound insulation within vehicles. These rubber or plastic components are designed to create a tight seal between the door and its frame, minimizing the entry of external noise. When a vehicle’s doors are closed, the seal acts as a barrier, blocking out unwanted sounds from the road, such as traffic noise, engine vibrations, and even wind howling. This is particularly crucial for drivers seeking a quieter cabin experience, especially during long journeys or in urban environments with heavy traffic.
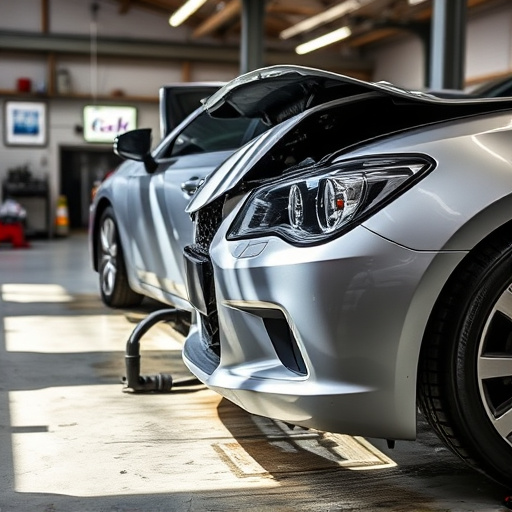
Regular door seal replacement is an essential part of vehicle maintenance, especially after accidents or when signs of wear and tear become evident. A collision repair shop often addresses door seal issues as part of car restoration processes, ensuring the seals are in optimal condition to provide maximum noise reduction. By replacing old or damaged door seals, technicians enhance the overall sound insulation capabilities of the vehicle, contributing to a more comfortable and peaceful driving experience for the occupants.
Step-by-Step Guide to Effective Seal Replacement
Door seal replacement is a crucial step in enhancing vehicle noise reduction, especially for those dealing with a car that’s become a symphony of squeaks and rumbles. Here’s a step-by-step guide to make sure this process is done effectively:
1. Assess the Damage: Begin by inspecting your doors to identify worn-out or damaged seals. Look for cracks, tears, or any signs of decay that might be causing the noise. This could be due to age, weather exposure, or previous repairs.
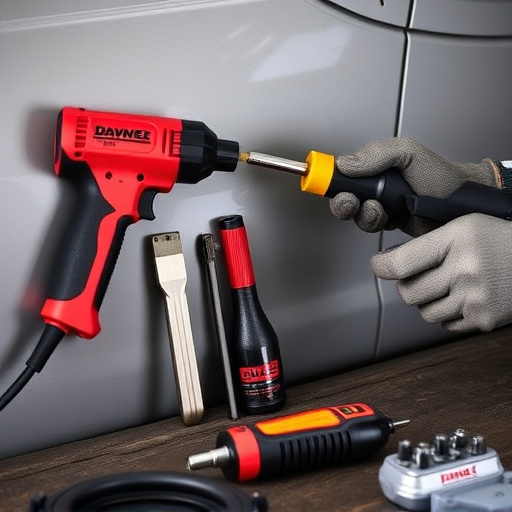
2. Gather the Right Tools and Parts: Before you start, ensure you have all the necessary tools like a screwdriver set, replacement door seals (choose the right size and type for your vehicle), and any sealing compounds or adhesives recommended by your auto body shop.
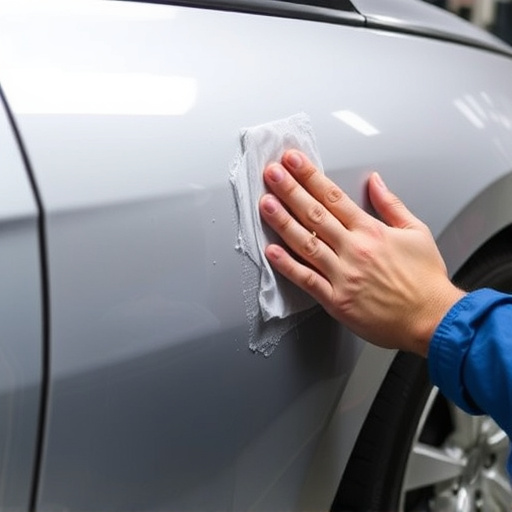
3. Prepare the Door: Remove any hardware or trim that covers the seal area. This might include door handles, mirrors, or decorative strips. Next, clean the surface thoroughly to ensure good adhesion for the new seal.
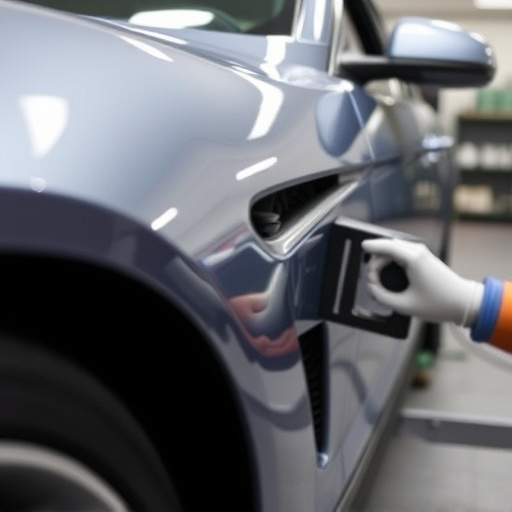
4. Remove the Old Seal: Carefully pry out the old seal using a tool or your fingers. Be mindful of retaining clips or edges that secure the seal in place. Take note of their position and how they attach to facilitate reinstallation later.
5. Install the New Seal: Insert the new door seal, aligning it with the door frame’s channels. Secure it with the retaining clips or edges as before. Ensure a tight fit for maximum noise reduction benefits.
6. Apply Sealing Compound (if needed): Some seals come with adhesive backing, while others may require an additional sealing compound to create a secure bond between the seal and the door frame. Follow the manufacturer’s instructions carefully.
7. Reattach Hardware: Once the new seal is in place, reattach any removed hardware and trim. Ensure everything is securely fastened.
Door seal replacement is a straightforward yet effective way to enhance vehicle noise reduction. By addressing the gaps and cracks around doors, you significantly improve sound insulation, making your ride quieter and more comfortable. Following the step-by-step guide provided, you can ensure a proper seal that not only reduces exterior noise but also prevents the escape of conditioned air, saving energy and enhancing overall vehicle performance.